Your Android phone’s Quick Settings panel is like your personal control center – a handy place to quickly toggle Wi-Fi, Bluetooth, brightness, and more. With the arrival of Android 16 QPR1, Google is giving you even more power to customize this crucial area, making your phone feel truly tailored to you.
Contents
This update brings some smart changes that let you rearrange, resize, and even add new tiles with surprising flexibility. Forget the rigid layouts of the past; here’s how to make the most of these new options and why they matter for your daily phone use.
Getting Started: Accessing the Edit Menu
Think of Quick Settings as a remote control for your phone. You typically access it by swiping down from the top of your screen. To see the full grid of tiles immediately without stopping at your notifications, simply swipe down with two fingers from the home screen or inside any app.
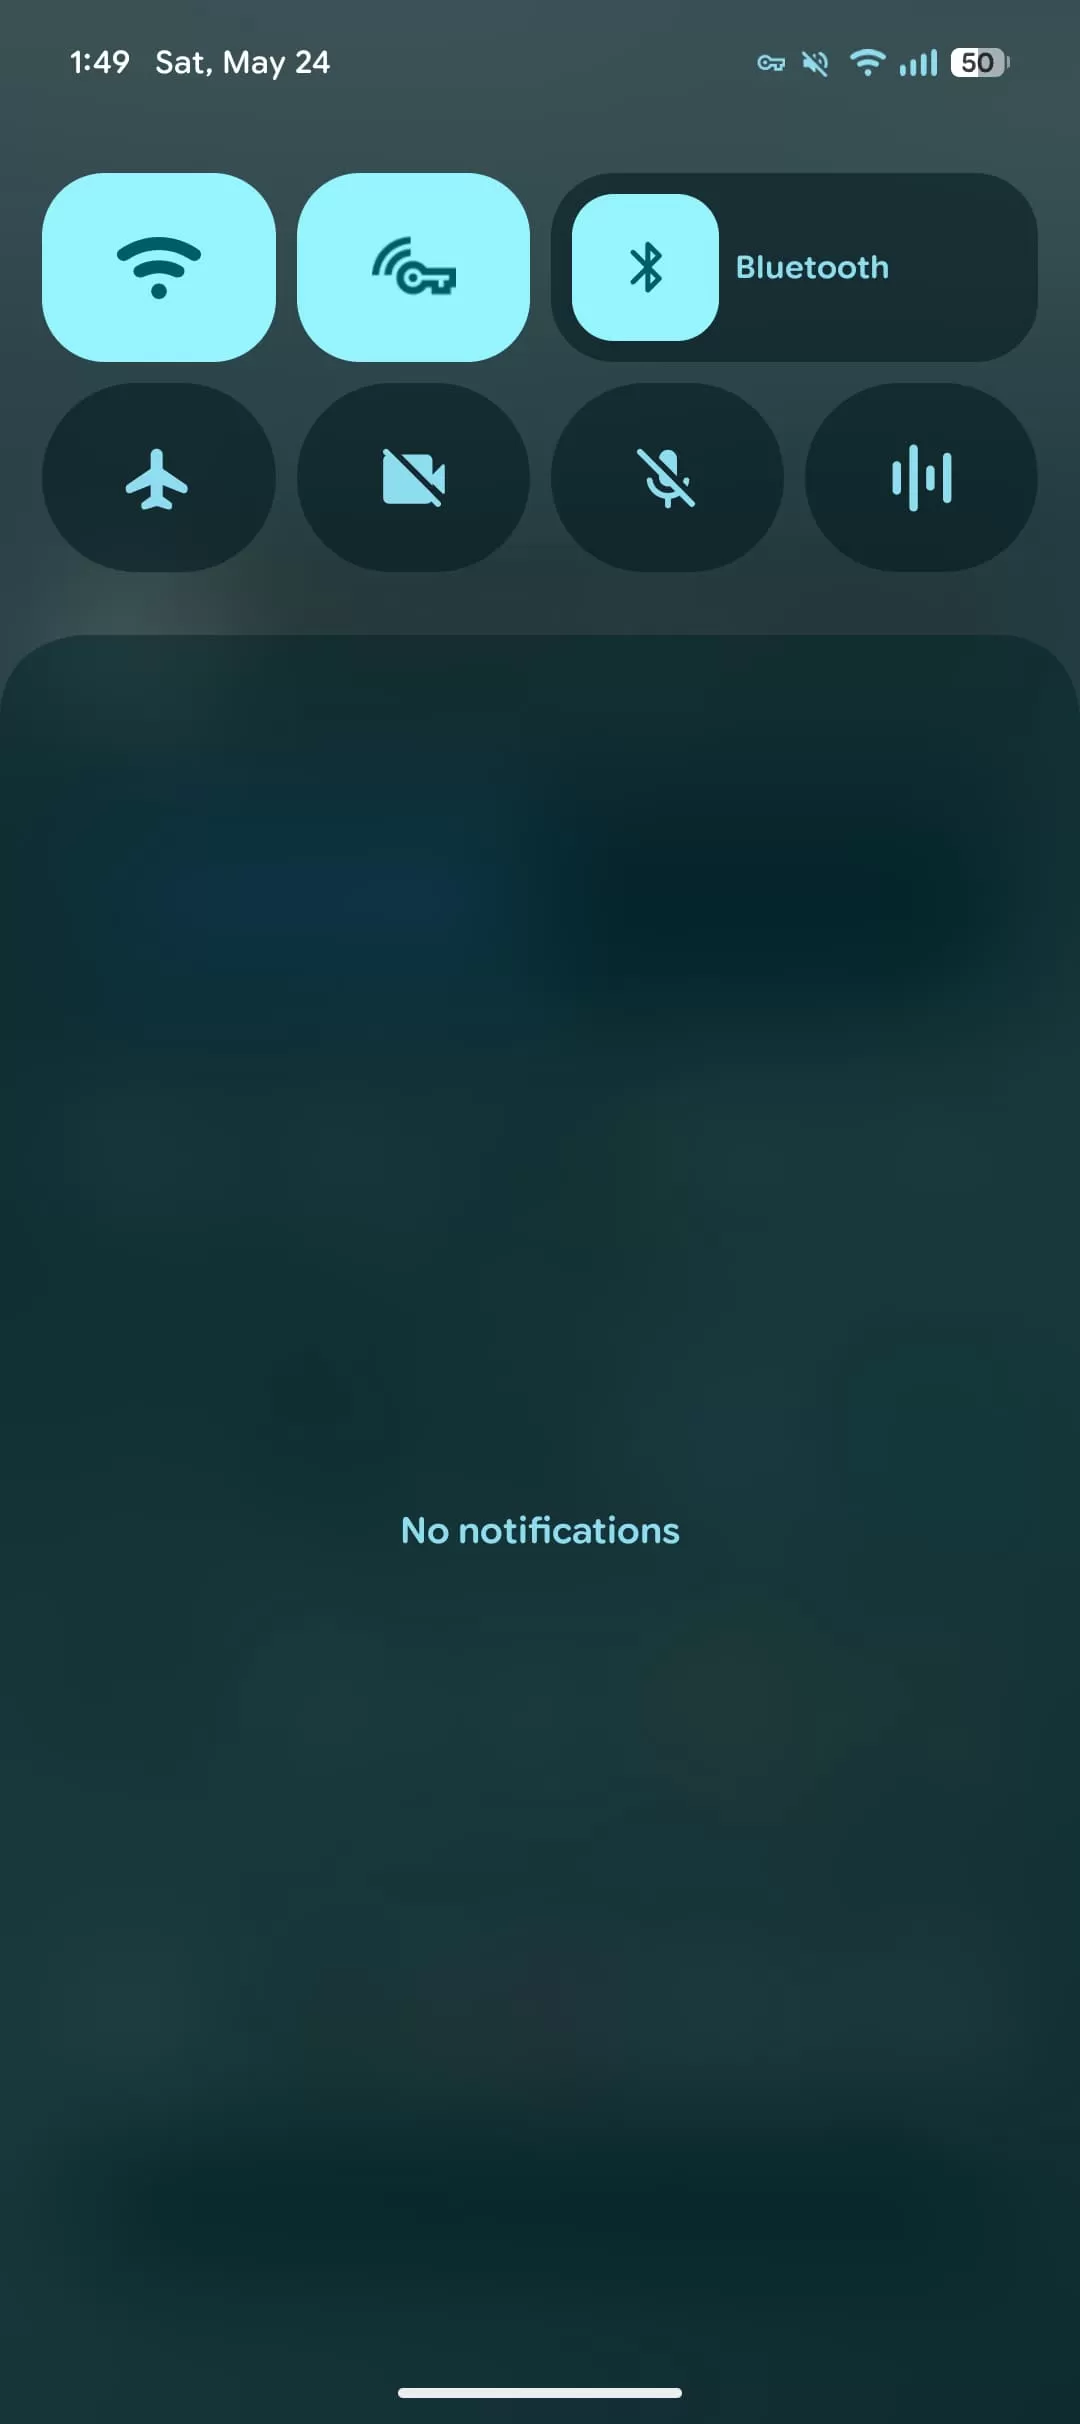
 Android 16 Quick Settings panel showing the customizable tiles.
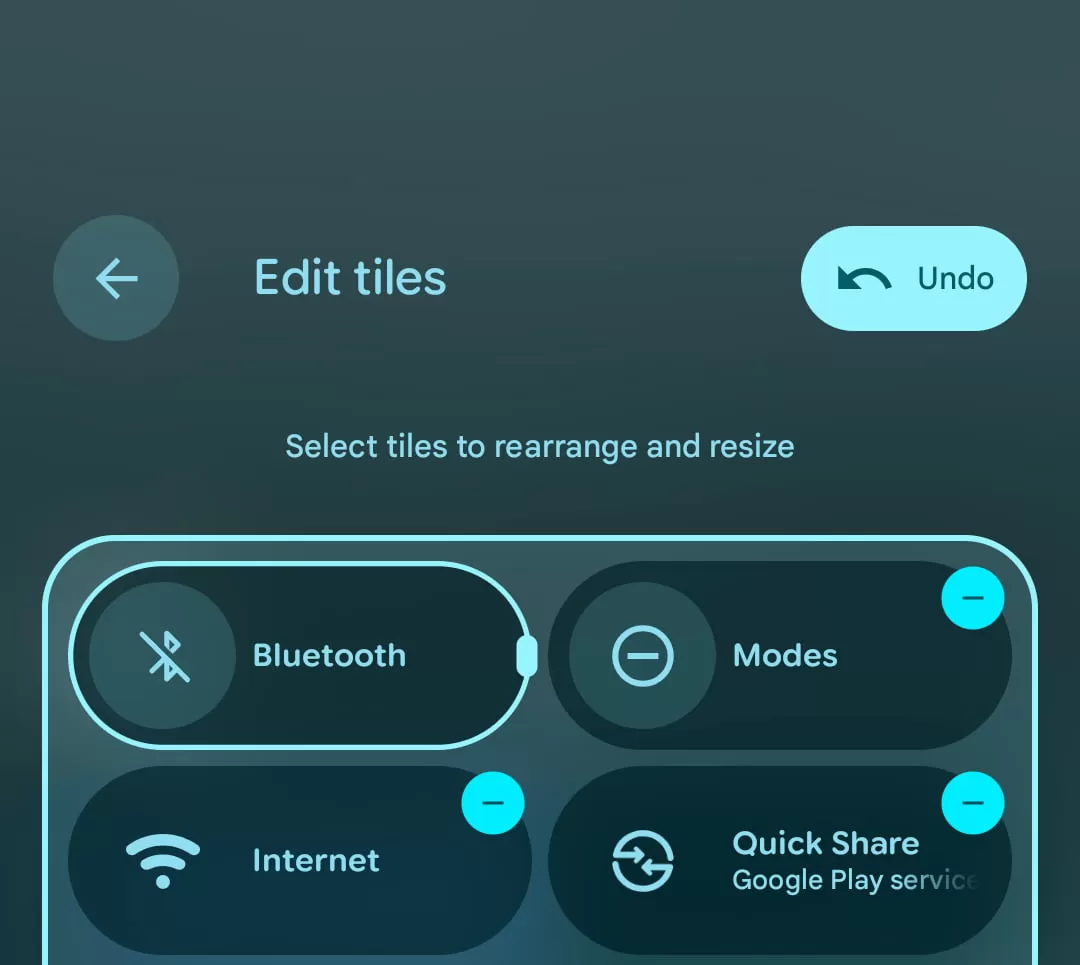
Once the Quick Settings panel is fully expanded and you can see all your tiles, look for a small pencil icon, usually in the bottom-right corner. Tapping this icon opens the edit mode, where the magic happens. Android 16 QPR1 will initially keep your old setup, showing your current tiles in a standard layout, usually a grid.
Change the Look: Tile Size and Text Labels
One of the biggest new features is the ability to change the size of individual tiles. Most tiles start as a “pill” shape, which is longer and includes a text label (like ‘Bluetooth’ or ‘Wi-Fi’). In Android 16 QPR1, you can shrink these.
In the edit mode, tap anywhere on a tile you want to change. A small circular icon will appear on the right edge. Instead of being a delete button, this turns into a handle you can drag. Dragging it to the left will transform the tile from its wider size (like 2×1) to a smaller, square icon (like 1×1). This makes the tile take up less space, but it removes the text label, leaving just the icon.
 Comparison showing Android 16 Quick Settings tiles in both 2×1 and 1×1 sizes.
An “Undo” option pops up after you make a change, which is handy if you change your mind. While going icon-only saves space, be aware that some tiles lose a bit of functionality in the smaller size.
For example:
- Bluetooth: The smaller icon just turns Bluetooth on or off. Keep it larger, and tapping the text area next to the icon opens your list of paired devices directly.
- Modes (like Do Not Disturb): Tapping the icon toggles the mode. The larger size lets you tap the text area to open the full list of your different modes (Sleep, Work, etc.).
- Wallet: The larger size shows a preview of your card image and the last few digits. The smaller size hides this, which is great if you prefer a cleaner look or more privacy at a glance.
 Android 16 Quick Settings tiles for Modes and Wallet showing different information based on size.
Understanding these subtle differences helps you decide which tiles are worth keeping larger for the extra shortcut and which can be shrunk to save valuable space.
Adding New Controls to Your Panel
Found a setting you use all the time that isn’t in your Quick Settings? Now it’s easier to add it. Android 16 QPR1 introduces helpful categories in the “Add tiles” list when you’re in edit mode. You’ll see groups like Connectivity, Utilities, Display, Privacy, Accessibility, and tiles from system apps or apps you’ve installed.
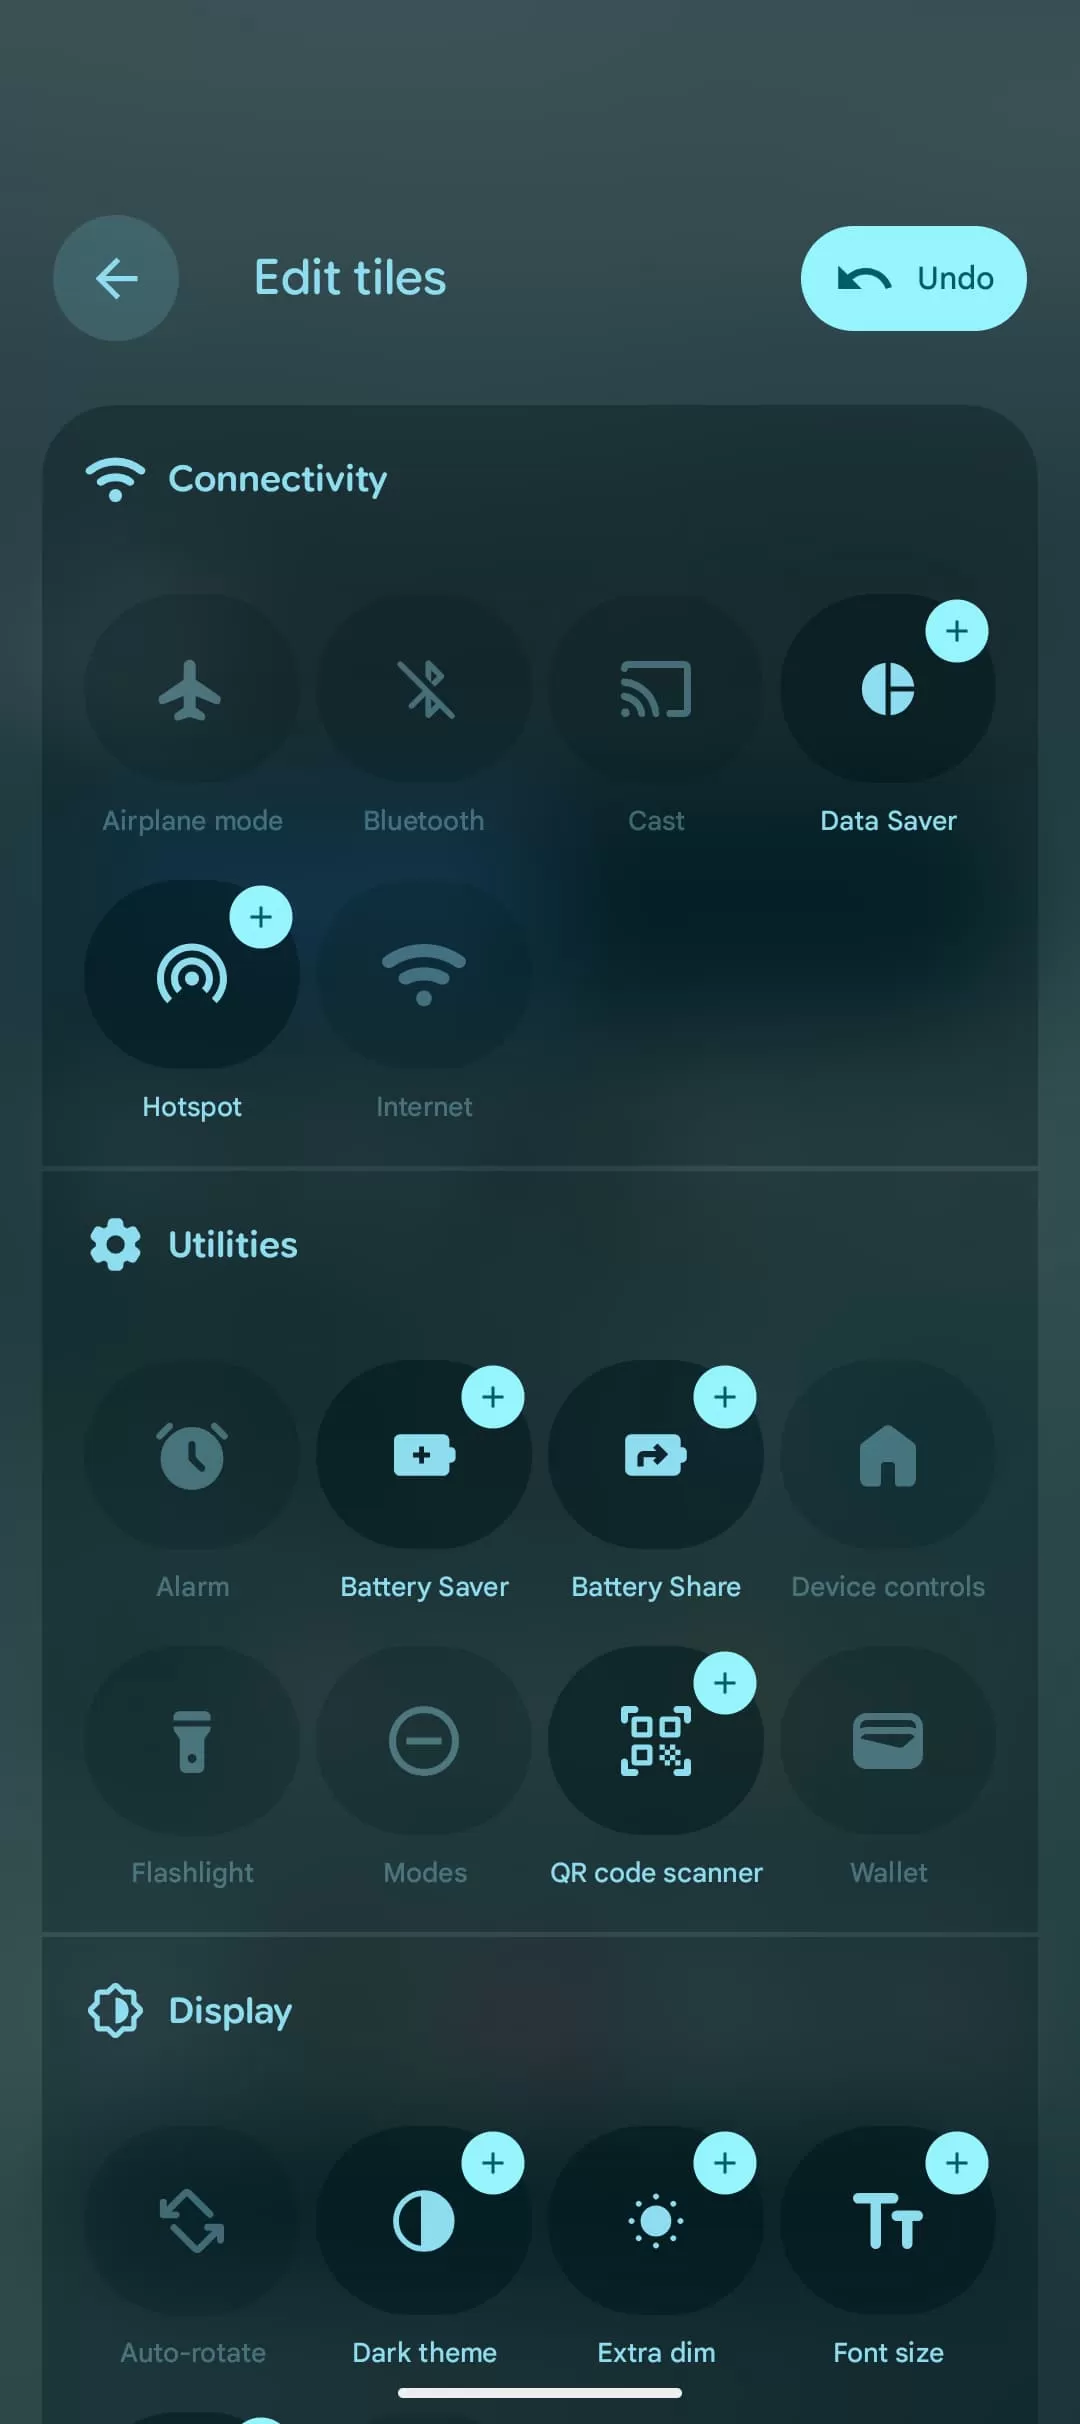 Android 16 Quick Settings editor showing categories like Connectivity and Utilities.
This makes finding the specific toggle you need, whether it’s for Battery Saver, Dark Theme, or a shortcut from an app, much less of a hunt. New tiles you add will initially appear in the smaller, icon-only size.
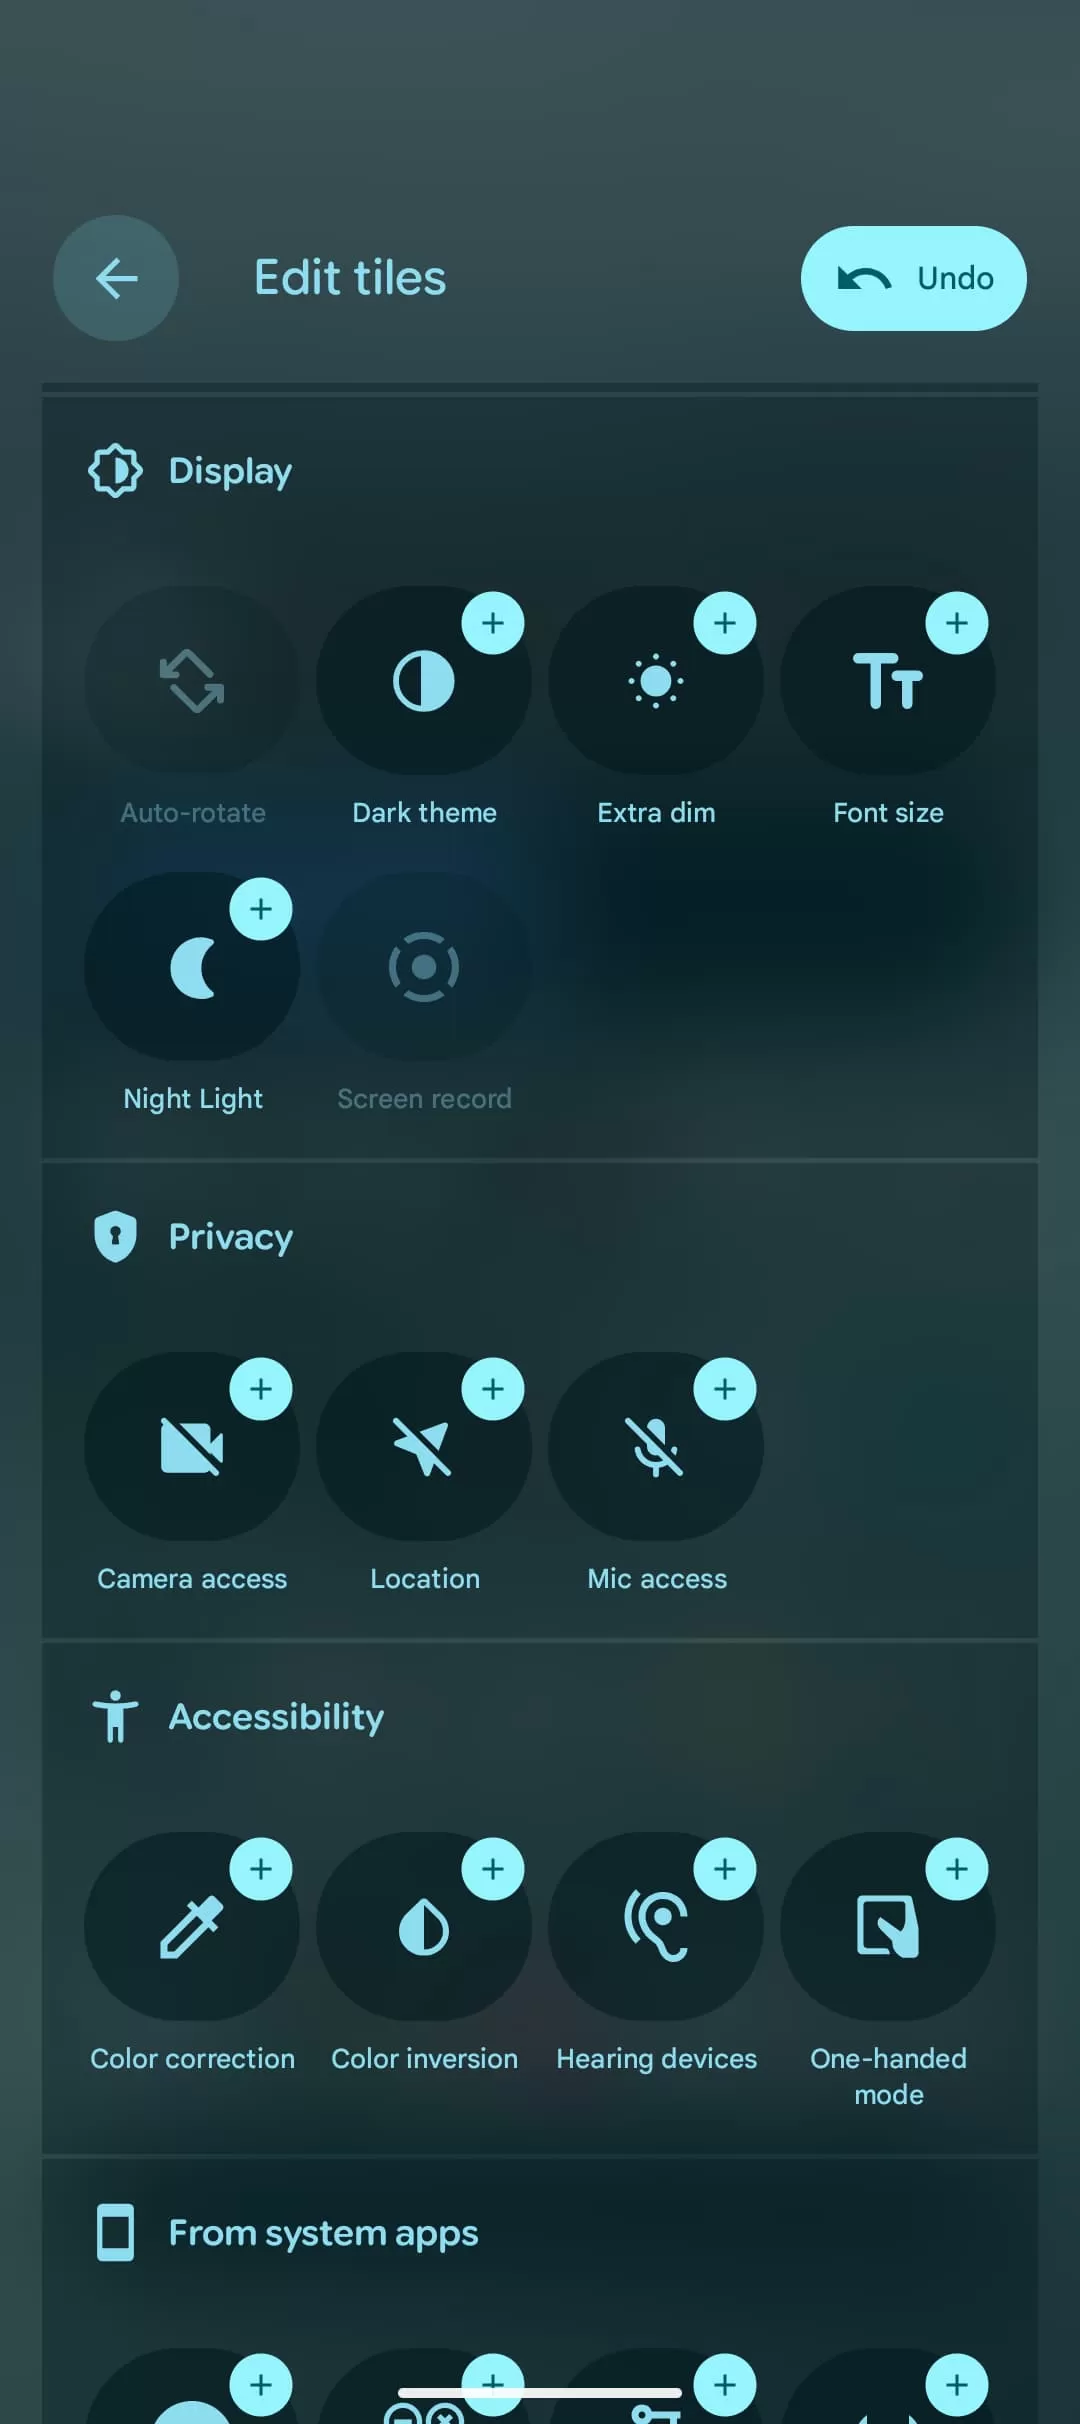 Android 16 Quick Settings editor displaying more tile categories including Display and Privacy.
Simply drag a tile from the list at the bottom up into your active Quick Settings area at the top. You can then drag and drop it into your desired position among your other tiles.
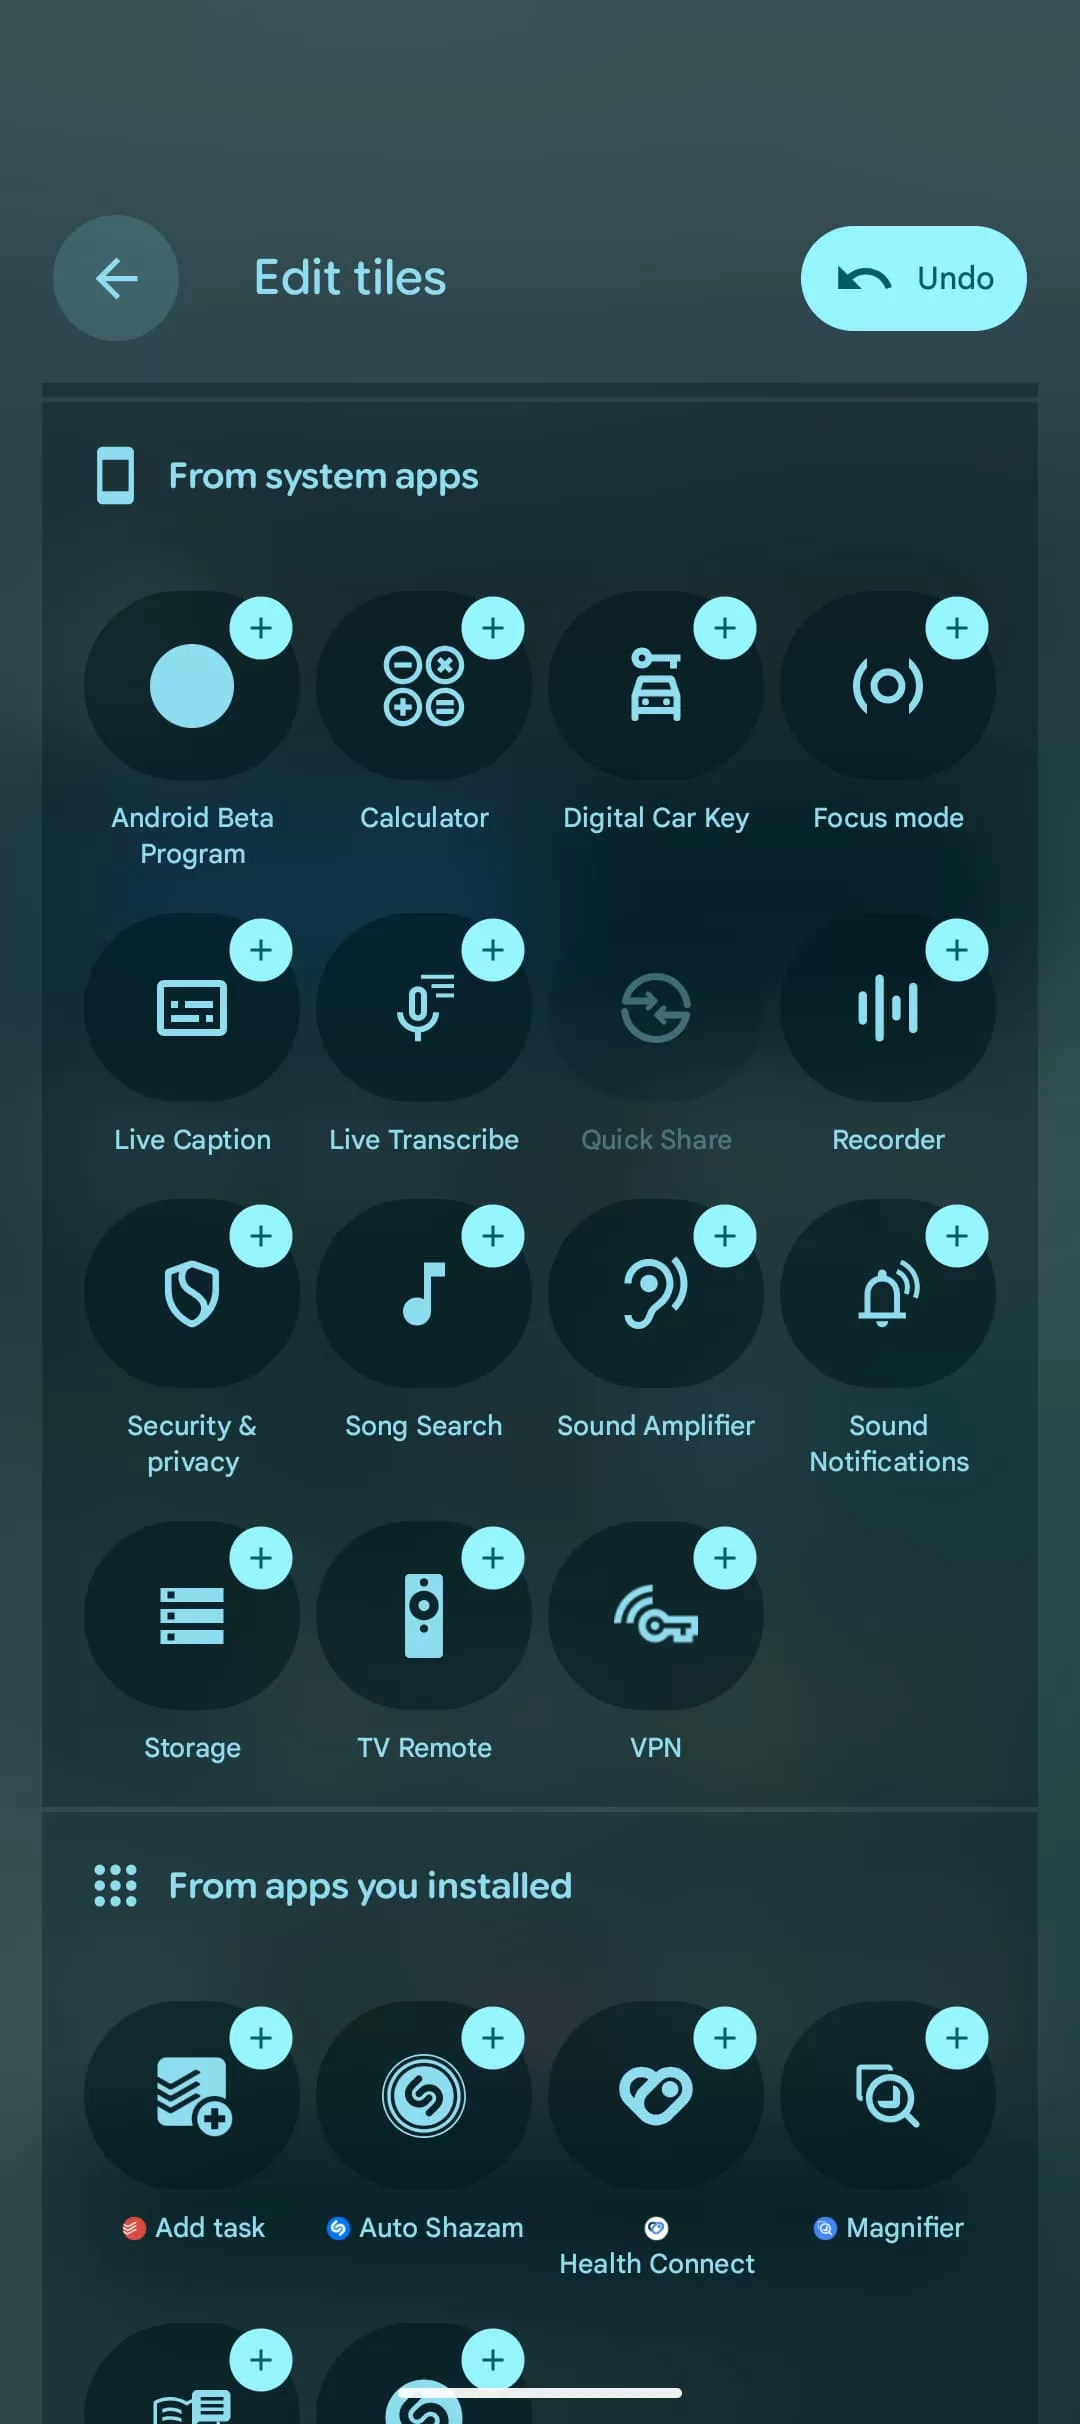 Android 16 Quick Settings editor listing tiles available from system and installed apps.
Optimize Those First Few Tiles
When you only swipe down once (not the full two-finger swipe), you see just the top row of your Quick Settings. In Android 16, this top row can show up to eight smaller 1×1 tiles. This is prime real estate! It’s the quickest way to access your most-used settings.
Consider which functions you need to reach instantly. Maybe it’s Wi-Fi, Flashlight, Do Not Disturb, or a specific app shortcut. Fill those first eight spots with 1×1 tiles for maximum immediate access.
 Example of an optimized top row of Quick Settings in Android 16, mixing different tile sizes.
You can mix and match sizes. For example, you might keep your Bluetooth tile larger (2×1) in the top row so you can quickly jump to device settings, using up two spots, and then fill the remaining six spots with 1×1 icons for other frequent actions. Experiment to find the setup that saves you the most taps.
 Another example showing a customized layout for the most accessed Quick Settings.
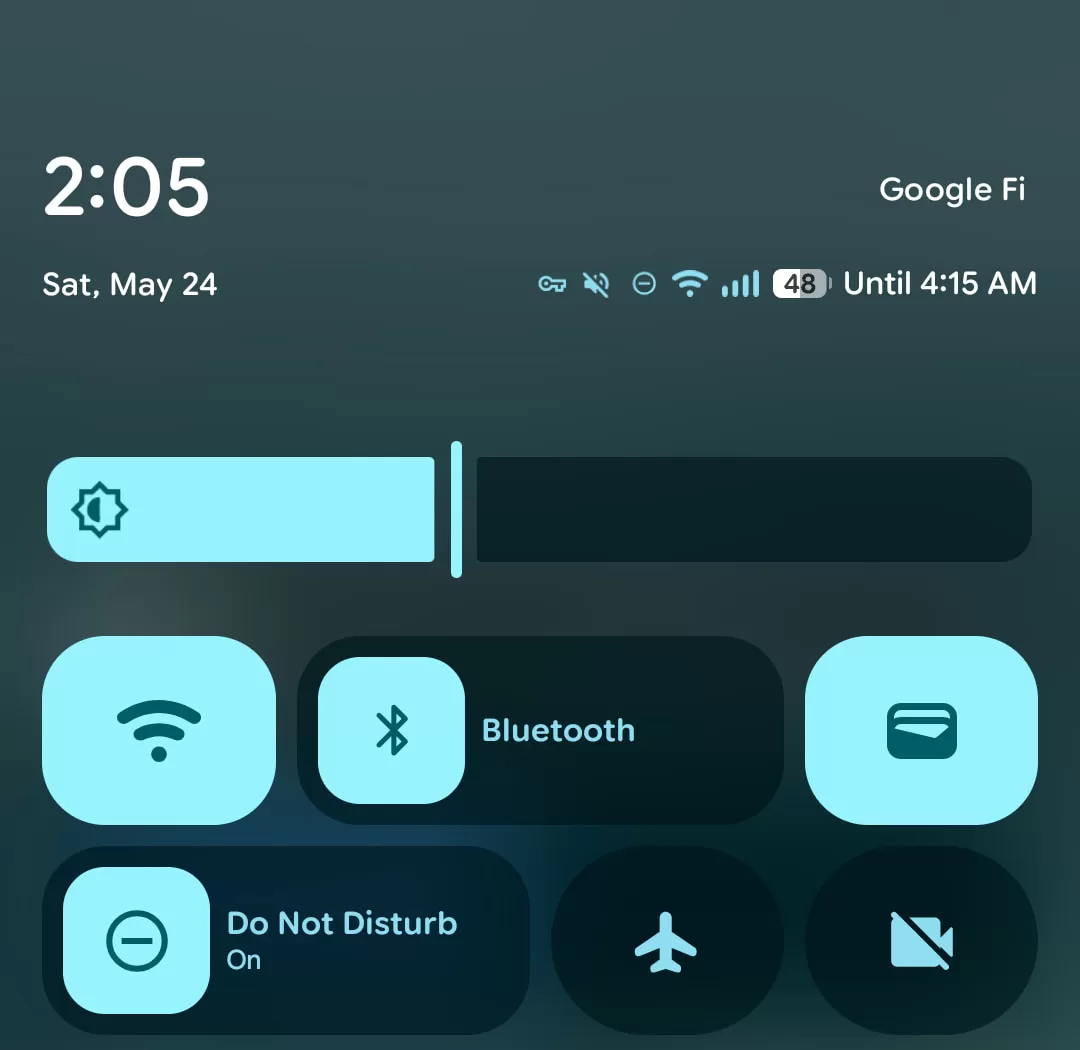
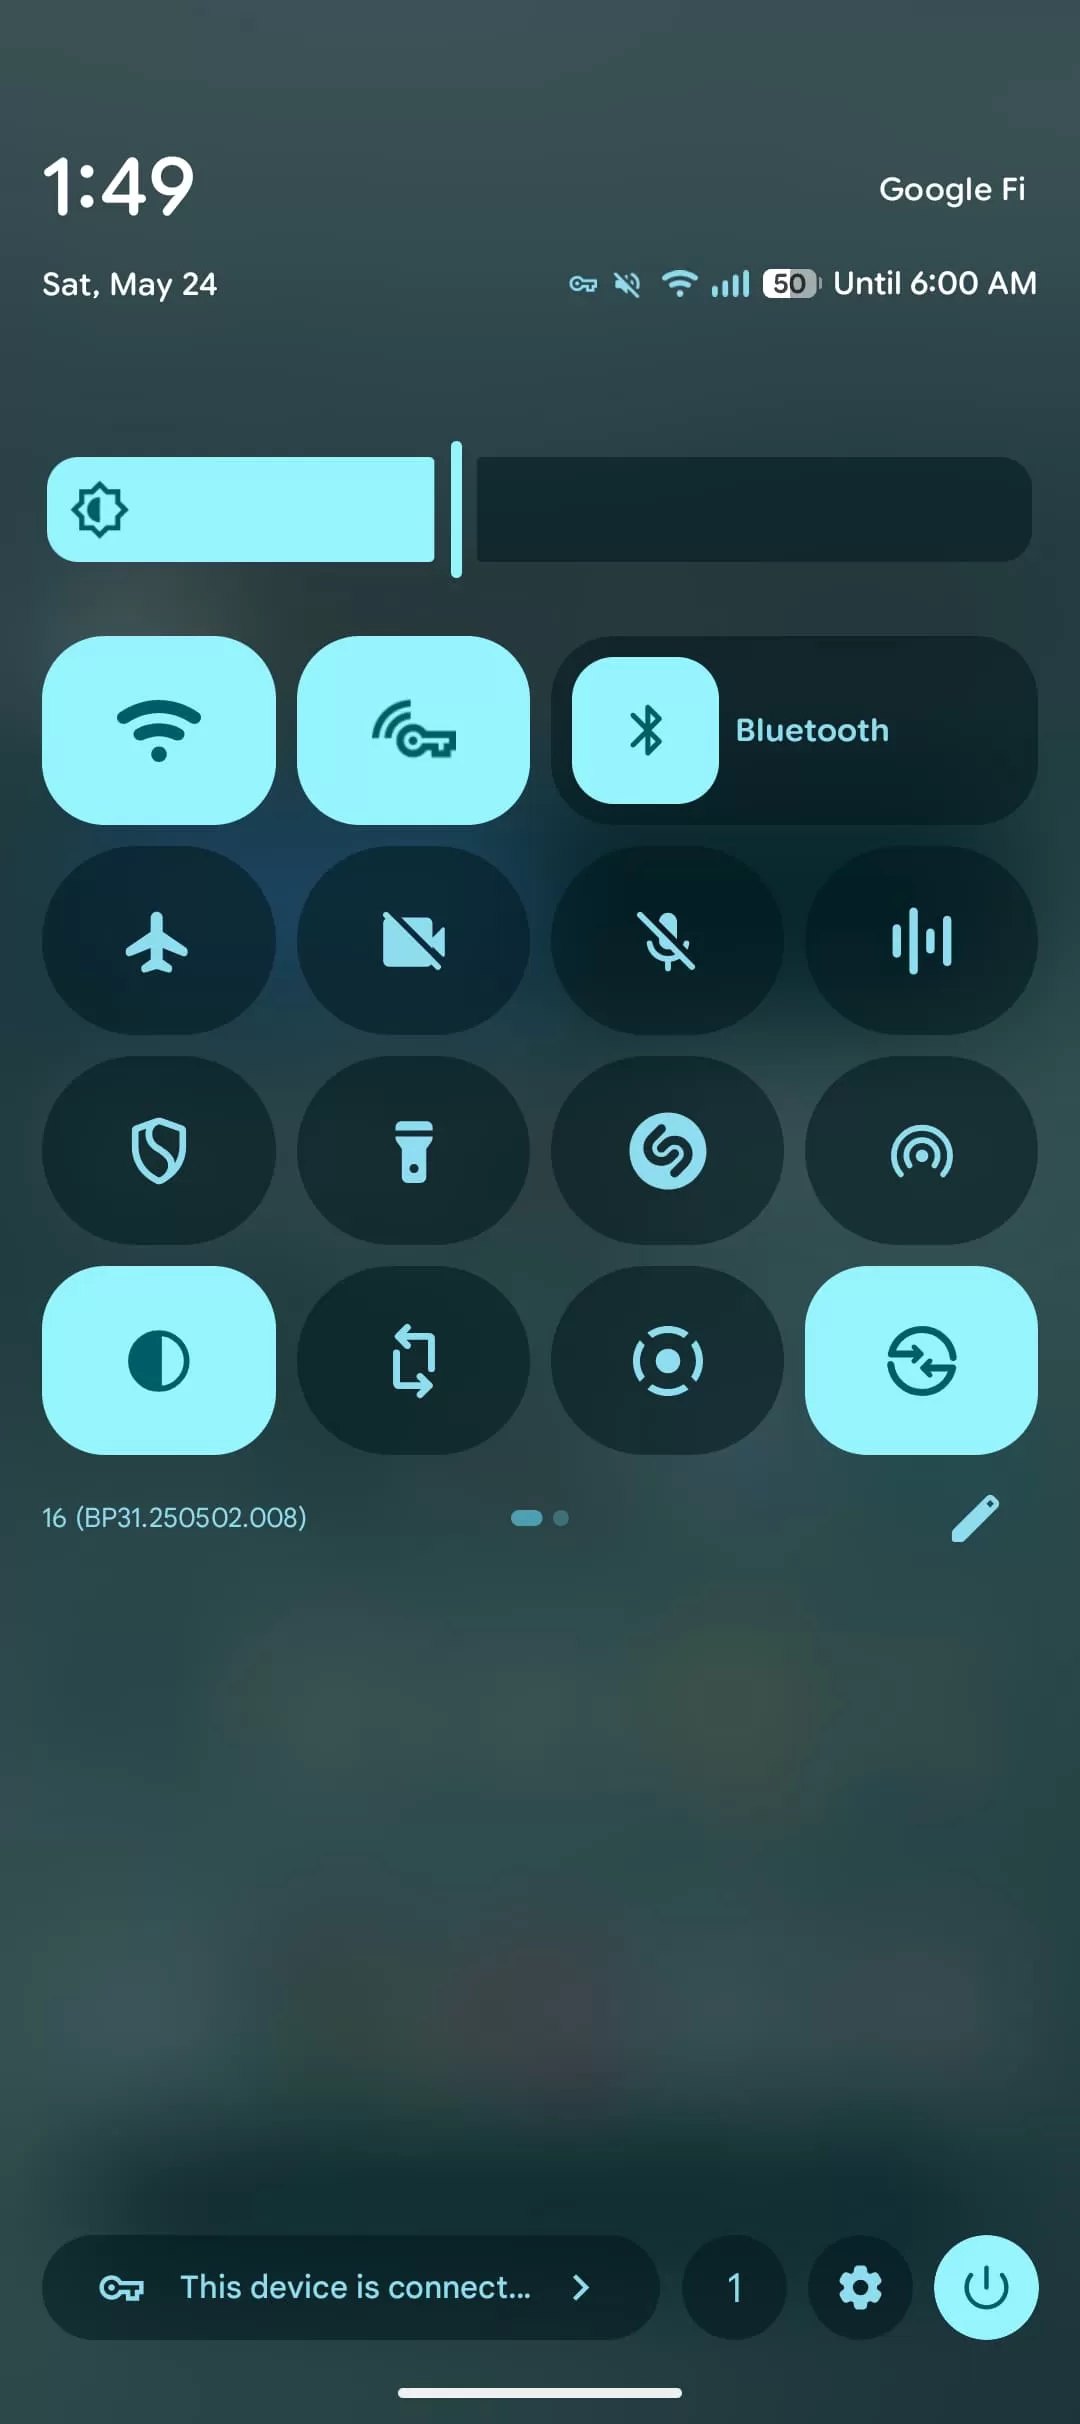
One small detail: active tiles (like Wi-Fi when connected) show up as a filled-in shape, while inactive ones are just an outline. Keep this in mind if you’re trying to make your panel look perfectly symmetrical, as the appearance will change based on what’s currently on or off.
Want to Start Over? There’s a Reset
If you play around with customization and decide you just want to go back to the default layout that Android 16 QPR1 started with, there’s an easy option. At the very end of the Edit Tiles screen, scroll all the way down, and you’ll find a “Reset” button.
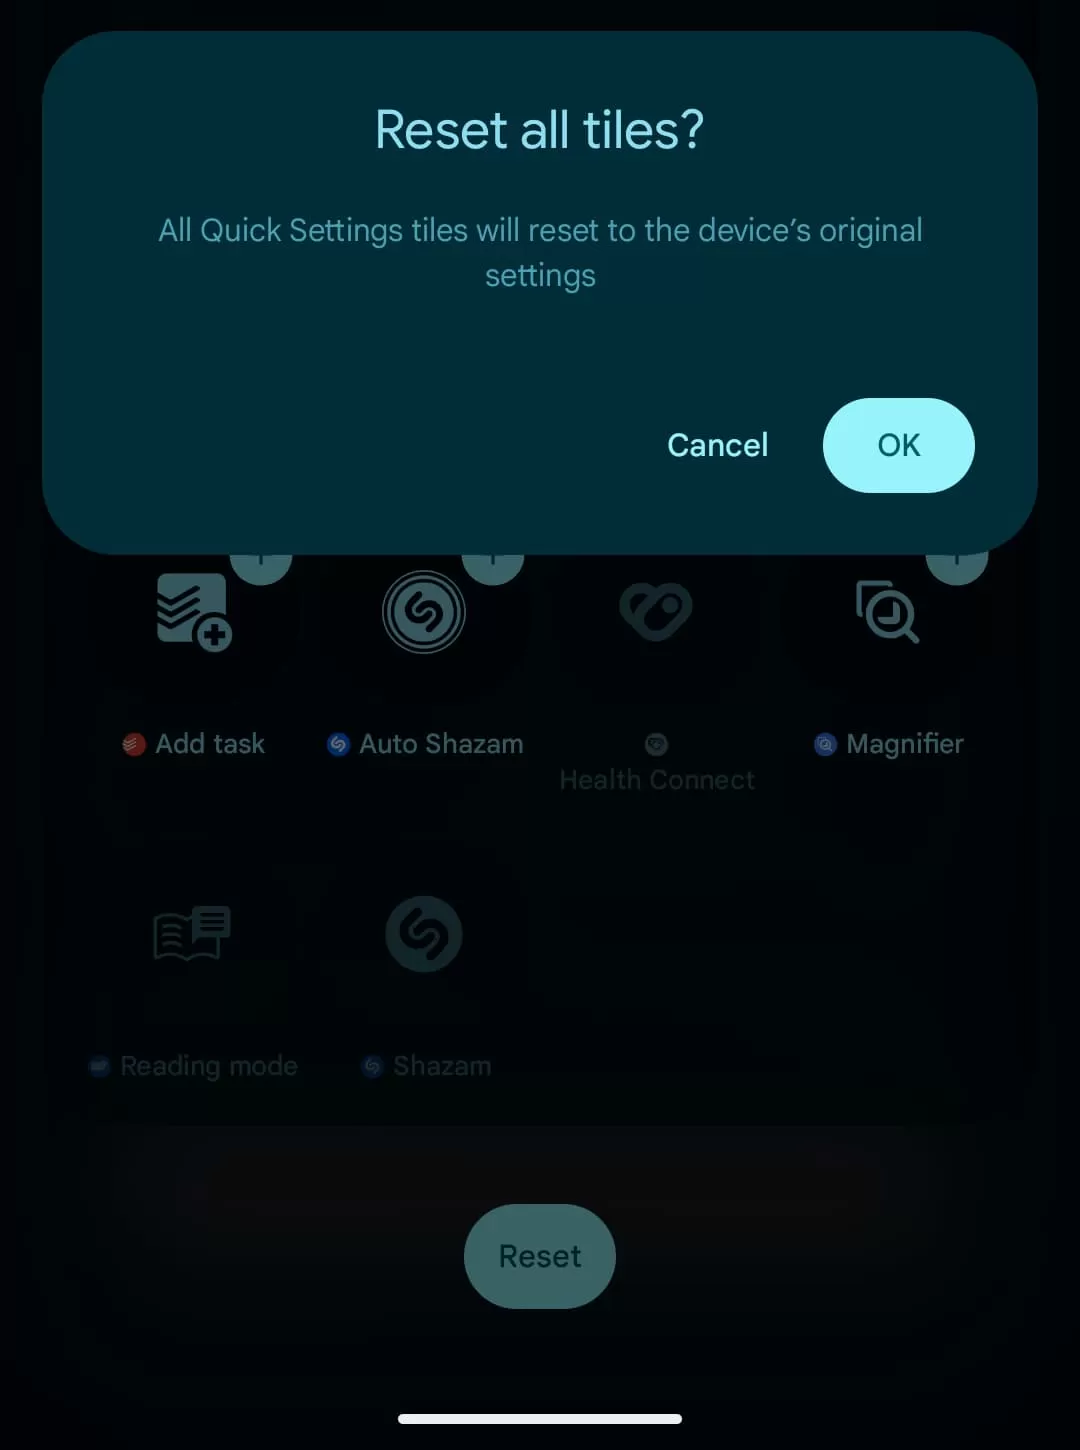 Screenshot showing the 'Reset' button in the Android 16 Quick Settings edit menu.
Tapping this will revert your Quick Settings panel to its initial state. It’s a good idea to take a screenshot of your current setup before you reset, just in case you want to remember where things were or rebuild part of your custom layout.
Make Your Phone Work For You
These customization options in Android 16 QPR1 aren’t just minor tweaks; they allow you to significantly speed up how you interact with your phone. By putting your most-used controls exactly where you want them and in the size that makes the most sense, you can save time and frustration throughout your day.
Take some time to explore the edit menu, experiment with different tile sizes, and think about which settings you access most often. A few minutes spent customizing can make your phone feel much more intuitive and efficient.
Want to dive deeper into what’s new in this update? Check out our full breakdown of the Android 16 QPR1 Beta 1 features.